Want to automatically send out a sample of your product to new subscribers? In MailPoet, it’s super easy! In this post, we’ll walk through the four easy steps needed to create an autoresponder. Let’s get started!
Why send a sample?
Before anything, you may wonder: why send a sample in the first place? Isn’t it easier to just pitch the product directly, without giving away any content for free?
The short answer is that samples help make your (potential) customers more comfortable. While they may be interested in your product, they’re probably unsure if it will be as good as it sounds. This is especially true if you’re a new business or if this is your first product.
For newer companies, sampling gives customers a sense of understanding and experience with an unknown product before they commit to buy.
Drew Gannon, Inc. Magazine
Long story short: the more your customers trust you, the more likely they’ll be to purchase your product(s). One of the best ways to build trust is to give away high-quality content for free.
Why send an email sample?
OK, so samples are worthwhile. However, why should you bother sending an email sample of your product? Isn’t it easier to just offer the sample directly on your website? The email may seem a little redundant…

…but it’s extremely important. Even if your email contains the exact same content as your website or social media posts, it’s still beneficial to send it via an email. By capturing your readers’ email addresses, you’ll be able to market to them more easily in the future.
But, more importantly, the email inbox is the single best place to get the attention of your readers (and potential customers). Email vastly outperforms social media in virtually every important marketing category.
Email is still the number one channel that consumers use to communicate with brands online. There is absolutely no reason to ditch email for social media marketing.
Mary Fernandez, OptinMonster
Now that we’ve answered why email samples are important, let’s learn how to make one.
Step 1: Make your sample
Step one is pretty straightforward: create your sample. What should you include in it? It depends on the nature of your product or service.

If you’re selling a book, I’d recommend including small portions of a number of chapters, rather than one full chapter. If you’re selling a video series, include a sample video, naturally. No matter what the nature of your product or service, you should always include customer testimonials in your sample.
Testimonials build trust. Whether your customers are raving about what your product has done for them or about the great service you gave, they’re telling your visitors first and foremost that they had a positive experience with your products and company.
Entrepreneur.com
Create something specific
A common mistake is to just take a portion of your product, upload it, and call it a day. This won’t work very well!
Instead, design the content of the sample specifically as a sample. Include your absolute best content and don’t be afraid of cutting out non-essential sections. You should also write an introduction, explaining that this is a sample (and where readers can purchase the full version.) Remember: the idea is to pitch your product. Need some more sampling inspiration? Check out this detailed guide by Inc. Magazine.
Is your sample ready to go? Let’s move on to the next step.

Step 2: Set up a MailPoet newsletter
Now, it’s MailPoet time! Go to the MailPoet > Emails tab on your WordPress sidebar and then click on Add New. Here, you can choose which type of email you want to create. For our sample email, we want to create a Welcome Email.
On the next page, we can choose to whom and when our email will be sent. You have two options: when someone subscribes to a list and when a new WordPress user is added to your site. You can then choose when the email will be sent: immediately, or a certain number of hours, days, or weeks later. Then, select a template and go to the Designer page.
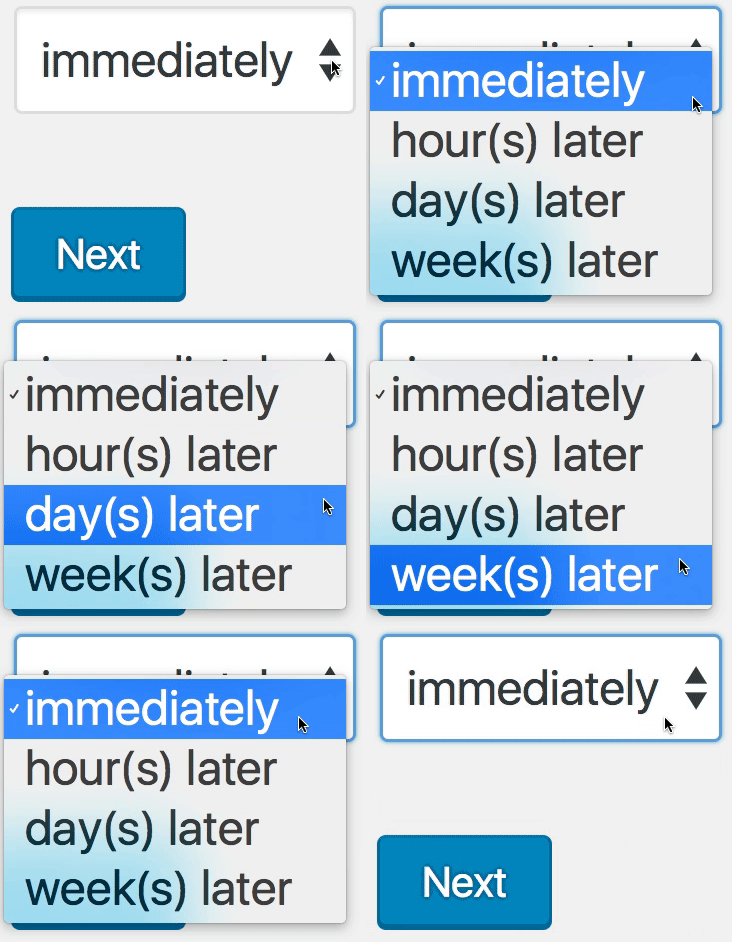
Tip: if you want to send something in non-standard time intervals (bi-weekly, quarterly, etc.) just convert the time to one of the available time options. For example, twice a month is every 15 days.
Attaching your file
In MailPoet, you won’t be able to directly attach your files to the email. Instead, you’ll need to upload them to your website and then link to them. You can do this by first going to the Media > Add New page on your WordPress sidebar.

Then, click Add New and upload your sample file.
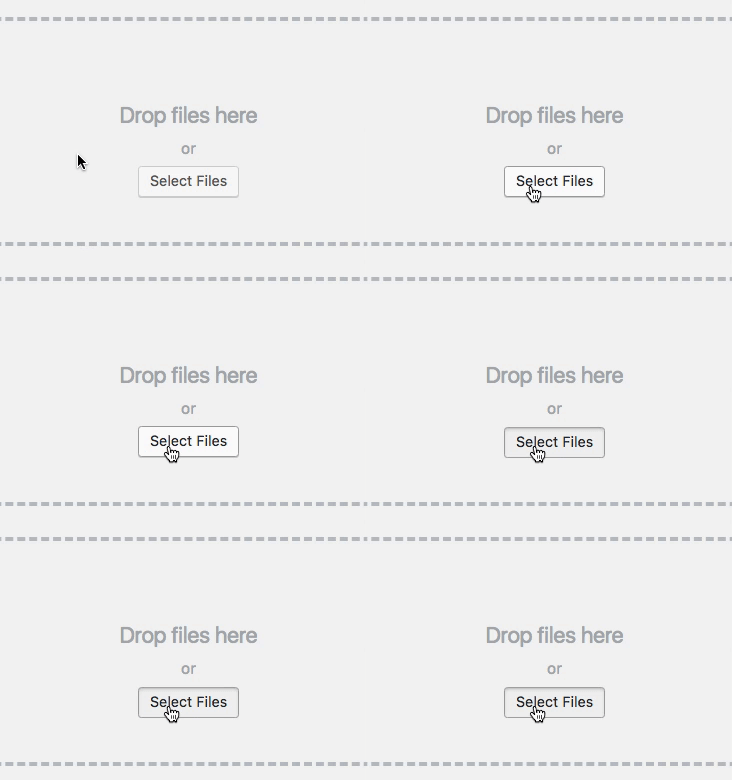
Finally, go back to the Media Library and copy the link to your newly-uploaded file. While you can just add this HTML link to your email directly, we recommend being a bit fancier. The two best ways to do this are with an image or with a button.
Using an image
The single best way to add a link to your sample is with an image, preferably of the product itself. If you’re pitching a book, then add an image of your book. If it’s a video, then add an image still of the video.
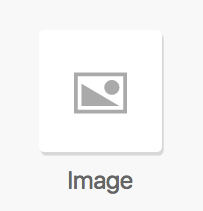
To add an image, simply drag the Image widget (pictured above) into your newsletter. Then, you can add the link to your file to this image.
Using a button
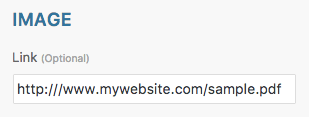
Buttons are also a good way to link to your products. To add a button, simply drag the button widget into the newsletter. You can modify the link, the display text, and much more.
Finally, double check the settings and activate your email. When your subscribers join your list, they’ll receive your welcome email. Pretty nifty, huh?
Step 3: Set up a follow-up newsletter
This step is optional but is highly recommended. By creating an additional “reminder” email that sends out 1-2 weeks after the initial subscription, you can recapture some of the users that, for whatever reason, didn’t take notice of the first email.

Keep this second email short and to the point. Just don’t overdo it, or you’ll be considered a spammer!
Step 4: Update, rinse and repeat
And that’s it! You’re done…right? Not quite. You should always continually update and refine your welcome emails and even the sample itself. Be sure to keep your information up-to-date, especially if you operate in a rapidly-changing industry.
Have you set up your own autoresponder? What were the results? Let us know in the comments!


